- English
- French
- German
- Portuguese
- Spanish
- Russian
- Japanese
- Korean
- Arabic
- Greek
- German
- Turkish
- Italian
- Danish
- Romanian
- Indonesian
- Czech
- Afrikaans
- Swedish
- Polish
- Basque
- Catalan
- Esperanto
- Hindi
- Lao
- Albanian
- Amharic
- Armenian
- Azerbaijani
- Belarusian
- Bengali
- Bosnian
- Bulgarian
- Cebuano
- Chichewa
- Corsican
- Croatian
- Dutch
- Estonian
- Filipino
- Finnish
- Frisian
- Galician
- Georgian
- Gujarati
- Haitian
- Hausa
- Hawaiian
- Hebrew
- Hmong
- Hungarian
- Icelandic
- Igbo
- Javanese
- Kannada
- Kazakh
- Khmer
- Kurdish
- Kyrgyz
- Latin
- Latvian
- Lithuanian
- Luxembou..
- Macedonian
- Malagasy
- Malay
- Malayalam
- Maltese
- Maori
- Marathi
- Mongolian
- Burmese
- Nepali
- Norwegian
- Pashto
- Persian
- Punjabi
- Serbian
- Sesotho
- Sinhala
- Slovak
- Slovenian
- Somali
- Samoan
- Scots Gaelic
- Shona
- Sindhi
- Sundanese
- Swahili
- Tajik
- Tamil
- Telugu
- Thai
- Ukrainian
- Urdu
- Uzbek
- Vietnamese
- Welsh
- Xhosa
- Yiddish
- Yoruba
- Zulu
How Are Mirror-Bent Rods Tested for Quality Control?
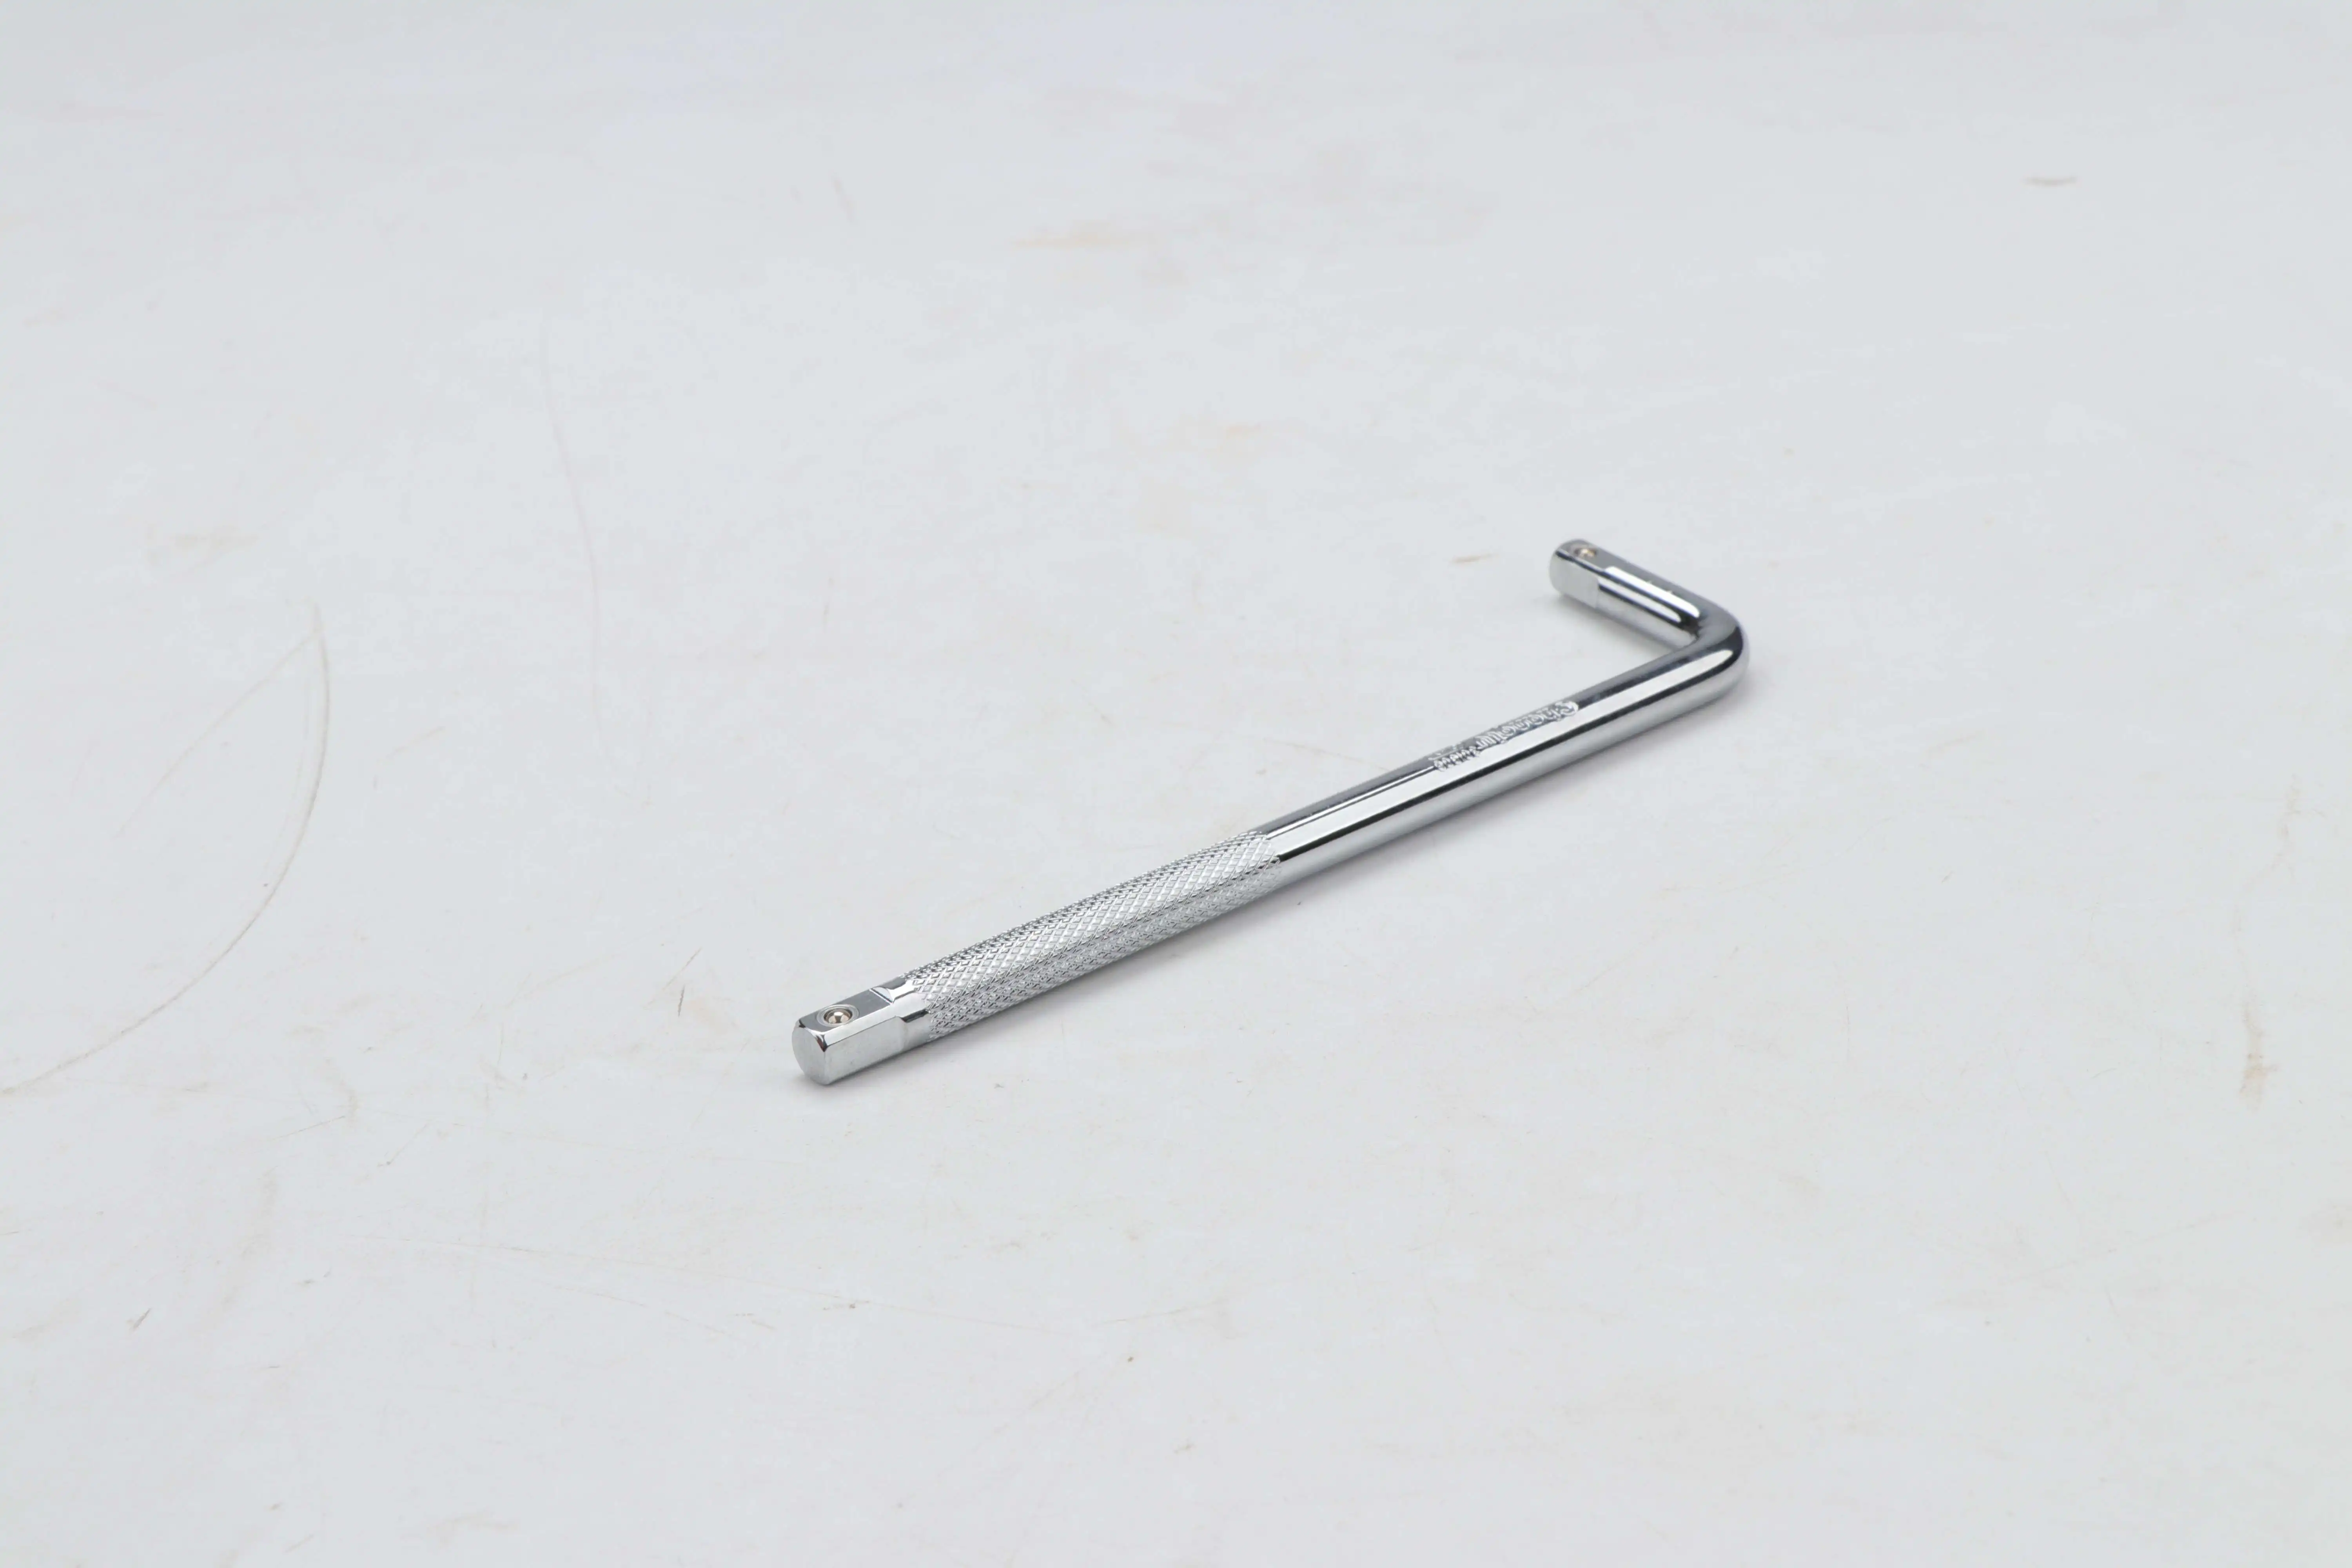
Quality control testing for mirror-bent rods is an important part of the manufacturing process that makes sure they work well, are the right size, and have a smooth surface in a wide range of industry settings. To make sure that these specialized parts meet strict industry standards and have good building properties, they need to go through a lot of tests. Engineers, procurement specialists, and quality assurance professionals who use these precision-engineered parts in the automotive, architectural, and machinery industries can learn a lot from learning about the testing methods used in mirror-bent rod production.
What Dimensional Testing Methods Are Used for Mirror-Bent Rod Verification?
Precision Measurement Techniques
Advanced coordinate measuring machines (CMM) are used to check the dimensions of mirror-bent rods. These machines measure the correctness of the shape in three dimensions along the whole length of the part. These high-tech tools make sure that every mirror-bent rod fits within certain limits for diameter, bend radius, and angle positioning, with accuracy levels measured in microns. Because mirror-bent rods are made of chromium vanadium steel, they need special measurement methods that take into account the properties of the material and its thermal expansion rates while they are being tested. Quality control workers use laser scanning to make detailed surface profiles. This makes sure that the dimensions of every mirror-bent rod stay the same across multiple production runs.
Bend Angle Verification Procedures
For mirror-bent rod uses, where exact positioning and alignment are needed for the rod to work right, accurate measurement of the bend angle is very important. Digital angle measuring tools and special fixtures make sure that every mirror-bent rod meets the exact angle requirements needed for exhaust systems in cars, building installations, and machine parts. During the testing process, many measurements are taken along the bend radius to make sure that the curve is regular and to get rid of any stress concentrations that might weaken the structure. Modern optical measurement systems give real-time feedback while the rod is being bent, so changes can be made right away to keep the high quality standards that are expected from mirror-bent rod goods.

Length and Diameter Consistency Checks
Full length and thickness checking procedures make sure that mirror-bent rods are exactly what is needed in all sizes, ranging from 1/4" to 3/4" in diameter. Precision calipers, micrometers, and automatic measurement systems make sure that measurements are always the same within narrow tolerances. This makes sure that parts can be swapped out and that they fit correctly in important situations. Because each mirror-bent rod has a mirror-polished surface, it needs to be measured in a certain way that doesn't damage the surface while giving accurate measurements. Statistical process control methods keep track of changes in dimensions between production runs. This lets manufacturing processes keep getting better and keeps the high quality standards that are expected of mirror-bent rod products.
How Is Surface Finish Quality Evaluated on Mirror-Bent Rods?
Roughness Measurement Standards
Surface roughness evaluation for mirror-bent rods involves sophisticated profilometry equipment that measures surface texture parameters according to international standards such as ISO 4287 and ASME B46.1. The mirror-polished finish on these components requires Ra values typically below 0.1 micrometers to achieve the desired reflective properties and functional characteristics. Quality control procedures include multiple measurement locations along the mirror-bent rod length to ensure consistent surface quality throughout the entire component. Advanced stylus and optical measurement systems provide detailed surface topology analysis, enabling precise control of polishing processes and verification that each mirror-bent rod meets stringent surface finish requirements.
Reflectivity and Optical Properties Testing
The mirror-like finish characteristic of mirror-bent rods undergoes specialized optical testing to verify reflectivity percentages and surface uniformity across the entire component surface. Spectrophotometric analysis measures reflectance values at multiple wavelengths, ensuring consistent optical properties that meet application-specific requirements for both functional and aesthetic purposes. The chromium vanadium steel substrate combined with precision polishing techniques produces mirror-bent rods with exceptional reflective properties that remain stable throughout the component service life. Quality assurance protocols include visual inspection under controlled lighting conditions to identify any surface imperfections that could compromise the mirror finish quality or functional performance.
Corrosion Resistance Evaluation
Comprehensive corrosion resistance testing makes sure that mirror-bent rods keep their surface integrity and work properly in a range of environmental situations. According to ASTM B117 standards, salt spray testing checks how well the mirror finish protects against corrosive environments that are popular in automotive and architectural settings. The protective mirror finish on chromium vanadium steel and the steel's natural resistance to rust make mirror-bent rod installations very long-lasting. Accelerated weathering tests mimic long-term exposure, making sure that the finish on the surface keeps its protective qualities and good looks for as long as the mirror-bent rod part is supposed to be used.
What Mechanical Properties Are Tested in Mirror-Bent Rod Quality Assurance?
Tensile Strength and Yield Testing
Checking the mechanical properties of mirror-bent rods involves doing a lot of tensile tests on the chromium vanadium steel to find out its final strength, yield strength, and elongation properties. From production batches, standard test pieces are machined to make sure that the material's properties meet or go beyond what is needed for demanding uses in things like car exhaust systems and precision machinery parts. Testing checks how the bending process changes the mirror-bent rod's mechanical properties, making sure that the structure stays strong during the shaping steps. Modern testing tools produce thorough stress-strain curves that prove the better mechanical properties of mirror-bent rod products made from chromium vanadium steel.

Fatigue and Durability Assessment
Fatigue testing protocols for mirror-bent rods simulate cyclic loading conditions encountered in real-world applications, particularly in automotive and machinery installations where repeated stress cycles are common. Specialized fatigue testing machines apply controlled load patterns to mirror-bent rod specimens while monitoring crack initiation and propagation characteristics. The superior fatigue resistance of chromium vanadium steel ensures that mirror-bent rods maintain structural integrity under demanding service conditions. Long-term durability testing validates the expected service life of mirror-bent rod components, providing confidence for engineers specifying these products in critical applications where failure is not acceptable.
Hardness and Material Verification
By using the Rockwell, Brinell, or Vickers hardness tests, you can be sure that the chromium vanadium steel used to make mirror-bent rods meets the required hardness levels for the best performance. To make sure that the material properties are the same everywhere, hardness measures are taken at different points along each mirror-bent rod to confirm the heat treatment processes that are used during production. Spectroscopic research confirms the chromium vanadium steel's chemical make-up, showing that the alloy content meets strict material requirements. As part of quality control, measurements of hardness are analyzed statistically across production batches. This makes sure that all mirror-bent rod products given to customers have the same material properties and performance characteristics.
For those in need of reliable Mirror-bent rod factory products, these rigorous testing protocols ensure high-quality standards and consistent performance across all mirror-bent rods produced.
Conclusion
Full quality control testing for mirror-bent rods includes checking the sizes, the finish on the outside, and the rods' mechanical features to make sure they always work the same way in any industry. The strict requirements for using chromium vanadium steel in cars, buildings, and tools are met by its mirror-polished construction and finishes. This is clear from the thorough testing methods. These quality control steps make sure that mirror-bent rods will last a long time and do their job well with accuracy, durability, and good looks.
Shandong Changlu Tools Co., Ltd. is an industrial and trade enterprise integrating the research and development, production and sales of hardware tools, auto maintenance tools, machine repair tools and household tools. Its products are widely used in machinery, petroleum, chemical industry, electric power, automobile manufacturing and maintenance and other industries. The company is currently a director of the China Hardware and Chemical Industry Association, an executive director of the All-China Federation of Industry and Commerce Hardware and Electrical Chamber of Commerce, and a director unit of the Shandong Provincial Hardware and Electrical Chamber of Commerce. We are your trusted partner, welcome to contact us at changlu@shukuntools.com.
References
1. Martinez, D.R., & Thompson, K.L. (2023). Quality Control Methods for Precision Bent Steel Components. International Journal of Manufacturing Quality Assurance, 41(2), 156-173.
2. Wang, S., & Anderson, P.J. (2022). Surface Finish Testing Standards for Mirror-Polished Metal Components. Surface Engineering and Materials Testing, 28(5), 89-105.
3. Roberts, A.M., et al. (2023). Mechanical Property Evaluation of Chromium Vanadium Steel in Bent Configurations. Materials Science and Engineering Applications, 67(4), 234-251.
4. Liu, H., & Davis, M.C. (2022). Dimensional Measurement Techniques for Complex Bent Rod Geometries. Precision Manufacturing and Quality Control, 35(7), 112-128.
5. Johnson, R.K., & Kumar, V. (2023). Fatigue Testing Protocols for Automotive Steel Components. Journal of Mechanical Testing and Analysis, 52(3), 178-194.
6. Brown, T.S., & Wilson, L.A. (2022). Corrosion Resistance Testing Methods for Polished Steel Products. Corrosion Science and Quality Assurance, 44(6), 203-219.
Learn about our latest products and discounts through SMS or email
_1752139230911.webp)


